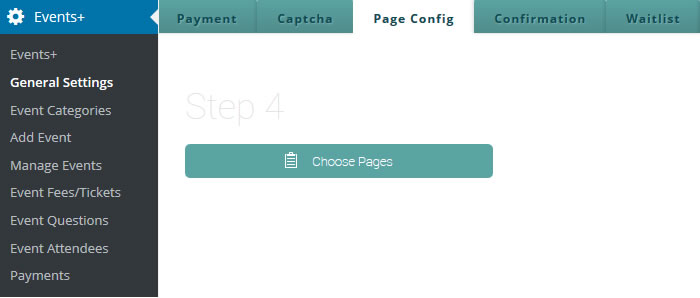
Introduction: This is a very important part of the plugin’s events registration and configuration. Your event links in the calendar, events list, and events grid will not work if this section is not configured correctly. When the plugin is installed and activated for the very first time, it automatically creates a page called Registration. You need to paste the {EVRREGIS} shortcode inside this page. This page should not be visible to any of your visitors.
Choose Events Registration Page
Important: You must choose the Registration page from the dropdown or non of your event links will work. If you choose a different page the plugin will not recognize the filter and the links will only refresh the pages.

Return URL for Event Payments
First of all, the return URL for payments page is used to display payment information to the customer only. You should create a page called Payments and place the [eventsplus_payment] shortcode inside it. When a customer receives a confirmation email, there will be a link to view payments and this is the page where they will land to view their payment info.

Ascending or Descending order?
This is pretty self explanatory. In this section you can choose whether to display your events in ascending or descending order. Most noteworthy, this will apply only to the events list, events grid, and events widget elements of the plugin.

Events Registration Social Icons
Here you can choose whether to display social icons in the single event element. The social icons are displayed on the top left side of the event header image and its used to share your events easily by your visitors.

![]()
Google Maps Integration for Events
Finally, in this section of our events registration plugin you can choose whether you would like to display a google map for your events or not. If your website receives high traffic, it is highly recommended that you integrate your own google maps API key. You can view more information on how to retreive your own API key directly from google here.


