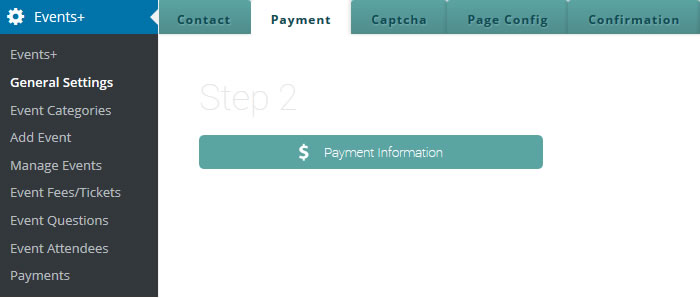
Our WordPress event payments plugin allows you to collect payments online from all your attendees. You have four options to choose from:
- PayPal
- Authorize.net
- Stripe
- Offline Payments
Each of these WordPress event payment gateways require different configurations which will be explained below in detail. Keep in mind that some of these methods will require you to have some sort of knowledge in adding API and secret keys from your respective accounts.
Choose Currency Format
The first thing you want to do before choosing and setting up your payment vendor is to choose your currency. Click on the dropdown and choose from more than 25 currencies currently accepted by PayPal and other payment processors.

Activate your preferred payment method

 WordPress Event Payments – PayPal
This is probably the most used method of receiving payments online and preferred by many sellers for its simplicity. Here are the steps on how to setup PayPal payments for your events:
PayPal Sandbox – Use sandbox mode when you want to do some testing or you want to debug

Your PayPal email – Add the paypal email where you would like to receive payments

PDT Authorization Token – You need to create this token from your PayPal account in order for the plugin to communicate with PayPal and confirm when a payment is made.

Here are the steps you need to follow in order to generate your token:
- Log in to your PayPal account.
- Click the Profile subtab.
- Click Website Payment Preferences in the Seller Preferences column.
- Under Auto Return for Website Payments, click the On radio button.
- For the Return URL, keep it blank.
- Under Payment Data Transfer, click the On radio button.
- Click Save.
- Click Website Payment Preferences in the Seller Preferences column.
- Scroll down to the Payment Data Transfer section of the page to view your PDT identity token.
You can learn more about PDT authorization token directly from PayPal’s website here. If you are having issues you are welcome to create a support ticket through our support forum.
 Online Event Payments – Authorize.net
Authorize.net is a payment processor that allows you to receive payments via credit cards. It also widely used by many ecommerce business owners worldwide. Here are the steps to setup Authorize.net payments for your events:
Authorize.net Sandbox – Use sandbox mode when you want to do some testing or you want to debug

Authorize.net API login ID & Txn Key – These credentials are also used by the plugin to communicate with Authorize.net and confirm when a payment is made. You can read how to retreive both by reading this here.

 Event Payments for WordPress – Stripe
Important information: In order for the plugin to communicate with Stripe, you need to Enable Checkout in Your Stripe Account first. Just log in to your Stripe account and navigate to the Checkout settings (Settings > Stripe apps > CHECKOUT) from the Dashboard. Next you just need to retreive your secret key and publishable key from your Stripe account. Here’s a quick tutorial on how to retrieve this information from your account.

Stripe Secret key & Publishable Key – These credentials are also used by the plugin to communicate with Stripe and confirm when a payment is made.

Offline Payments for Events
There are times when you want your attendees to pay when they arrive at your event. In that case you can use the offline payment method, this will allow your customers to register for your event online and appear as registered in the plugin without the need to pay.
